A custom YouTube thumbnail is the single biggest controllable lever over your video's click-through rate (CTR). YouTube's own research shows that over 90% of the best-performing videos on the platform use a custom thumbnail rather than the auto-generated frame YouTube selects when no custom thumbnail is uploaded. This guide walks through the complete process of creating a custom YouTube thumbnail from choosing the right design tool to uploading the finished image in YouTube Studio.
What Makes a Custom Thumbnail Better Than Auto-Generated?
When you upload a video to YouTube without a custom thumbnail, YouTube automatically selects a still frame from the video as the thumbnail. This auto-generated frame is almost always suboptimal: it may show a mid-sentence facial expression, a transition, or an out-of-context moment that gives no useful information about the video's content or value to a potential viewer.
A custom thumbnail gives you full control over the image your potential viewers see first. You can choose the best photograph, the most compelling facial expression, the most relevant graphic, and add text that amplifies the video's hook. This combination is what drives click-through rates above the YouTube average of 46%.
What You Need to Make a YouTube Thumbnail
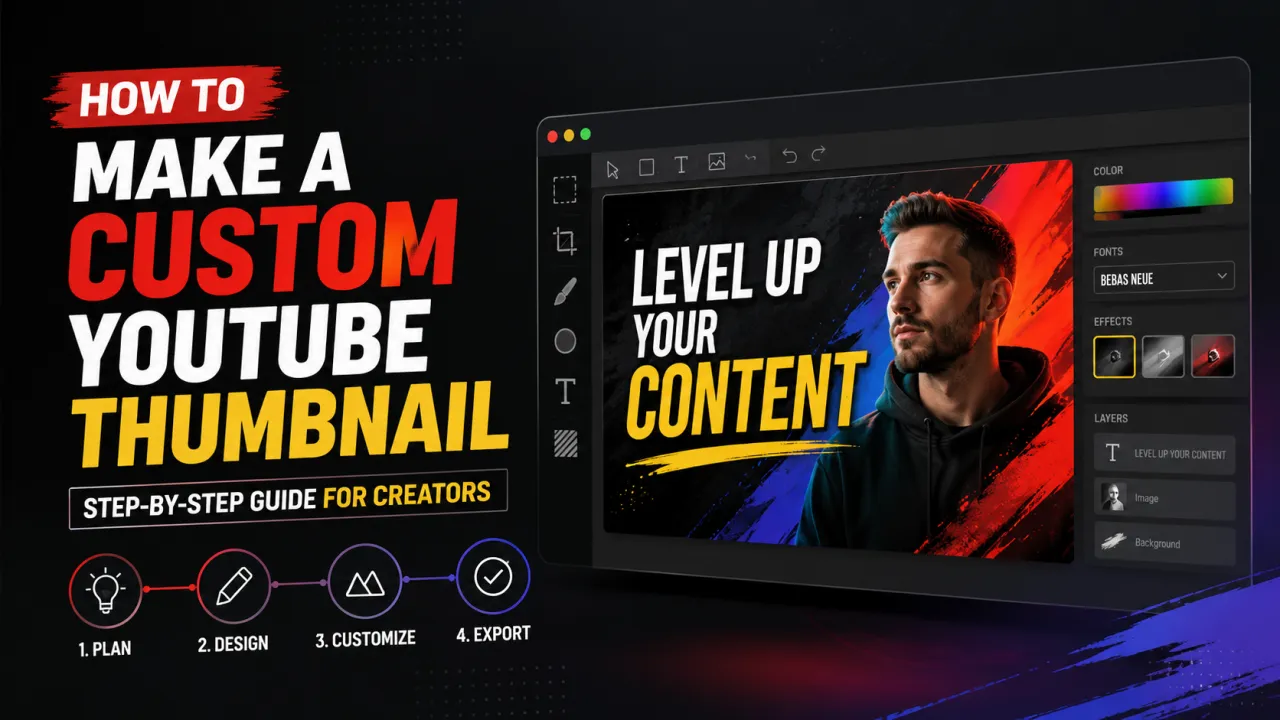
Making a custom YouTube thumbnail requires three things:
- A design tool Canva, Adobe Express, Photoshop, GIMP, Figma, or any image editor that can export at 1280×720 pixels
- A high-quality photograph ideally of yourself (for face-forward thumbnails) or of the subject matter of the video, shot against a clean or controllable background
- A verified YouTube channel custom thumbnails require channel verification. Visit youtube.com/verify to verify your channel with a phone number if you have not already done so.
Step 1: Set Up Your Canvas at the Correct Size
Create a new document in your design tool with these exact specifications:
- Width: 1280 pixels
- Height: 720 pixels
- Aspect ratio: 16:9
- Colour mode: RGB (for screen display)
- Resolution: 72 DPI (screen resolution print resolution is unnecessary)
Working at exactly 1280×720 ensures your design elements scale correctly when YouTube displays the thumbnail. See the full YouTube thumbnail size guide for a detailed explanation of all size requirements including the maximum 2 MB file size limit and accepted file formats.
Step 2: Research High-Performing Thumbnails in Your Niche
Before designing your thumbnail, spend 1015 minutes studying the thumbnails of the top-performing videos in your specific niche. This is one of the highest-value steps in the process because it shows you exactly what visual patterns your target audience is already clicking on.
To do this research efficiently:
- Search YouTube for the primary topic of your video, sorted by View Count.
- Identify the top 1015 videos with the most views.
- Download their thumbnails in HD using the free YouTube thumbnail downloader by YTI paste each video URL, click Search, and download the HD (1280×720) version.
- Place all downloaded thumbnails side by side in your design tool to identify recurring patterns: dominant colours, face positions, text styles, and background types.
Your thumbnail design should match the visual language of the top performers in your niche (so it fits the audience's established preferences) while including at least one distinguishing element (so it stands out within the pattern).
Step 3: Design Your Thumbnail
A strong YouTube thumbnail typically includes three layers:
- Background a clear, uncluttered image, a solid colour, a gradient, or a combination. Avoid busy backgrounds that compete with the foreground elements.
- Subject a face with a clear emotion, a product, or the most visually compelling element of the video. The subject should be large occupying at least one-third of the frame.
- Text three to five words maximum, using a large, bold, high-contrast font. The text should add information the image alone does not provide.
Use high colour contrast throughout. A bright element on a dark background or a dark element on a light background is the most reliable way to make a thumbnail stand out in a crowded feed. Canva's colour palette tool and Adobe Color are useful for identifying high-contrast colour combinations that work for your channel's brand colours.
Step 4: Export at the Correct File Size
When exporting your finished thumbnail:
- Export as JPG at quality 8590% for the best balance of image quality and file size
- The exported file must be under 2 MB check the file size before uploading
- PNG is acceptable but typically produces a larger file size than JPG for photographic content
- Name the file descriptively (e.g.
how-to-make-youtube-thumbnail-guide.jpg) as this may contribute a small SEO signal in Google Image Search
Step 5: Upload the Thumbnail in YouTube Studio
Before uploading, confirm your image is exactly 1280×720 pixels. If not, resize it to 1280×720 using the YouTube Thumbnail Resizer it runs entirely in your browser with no upload required. Then to upload your custom thumbnail:
- Open YouTube Studio and navigate to Content.
- Click the video you want to update the thumbnail for.
- In the Details tab, find the Thumbnail section and click Upload thumbnail.
- Select your prepared JPG file and confirm.
- Click Save in the top-right corner.
YouTube typically processes the new thumbnail within a few minutes. You can verify it is live by opening the video in a new incognito/private browser tab.
Step 6: Test and Improve with A/B Testing
YouTube Studio includes a Test & Compare feature (available to YouTube Partner Program members) that lets you upload two different thumbnails for the same video and measures which drives more clicks over 72 hours. Use this feature regularly on your most important videos.
Before uploading a test thumbnail, download your current thumbnail using the YTI Thumbnail Downloader and save it locally. If the new thumbnail underperforms, you have the original file ready to restore without needing to recreate it.
If you are creating artwork for a broadcast instead of a standard upload, follow our live stream thumbnail guide.
How to Change the Thumbnail on a Video You've Already Published
You are not locked into your first choice — you can change a thumbnail on a published video at any time, and it keeps all of its views, comments, and watch history. In YouTube Studio, click Content, open the video, click the current thumbnail in the Thumbnail section, choose your replacement, and click Save. You can do this from the YouTube Studio mobile app too — the main YouTube app does not allow it.
YouTube keeps no version history of thumbnails, so download your current one before replacing it: paste the video link into the free YouTube thumbnail downloader and save the HD copy, so you can revert instantly if the new design underperforms. If your new thumbnail does not appear right away after saving, that is normal caching — see why a YouTube thumbnail is not showing or updating for the fix.
Frequently Asked Questions
Canva is the most widely used free tool for YouTube thumbnail creation. It offers a dedicated YouTube Thumbnail template at the correct 1280×720 pixel size, a large library of free fonts and design elements, and a drag-and-drop interface that requires no design experience. Adobe Express and Snappa are strong alternatives with comparable features.
Use fonts that are bold, sans-serif, and highly legible at small sizes. Impact, Montserrat Bold, Anton, Oswald, and Bebas Neue are popular choices among high-volume YouTube creators. Avoid thin, script, or decorative fonts — these become illegible in the browse grid on mobile devices.
YouTube Studio's Test & Compare feature shows a preview of how your thumbnail appears in the browse feed before and during a test. Alternatively, reduce your design canvas to 25% zoom in Canva or Photoshop to simulate the approximate size at which thumbnails appear on mobile screens.
Experienced creators with an established thumbnail template typically complete a thumbnail in 10–20 minutes. Beginners without a template may need 45–60 minutes for their first several thumbnails. Creating a reusable template in Canva or Photoshop after your first three or four thumbnails reduces the time significantly.