YouTube enforces a 2 MB maximum file size for custom thumbnail uploads. Submitting a file above this limit results in an upload error in YouTube Studio — and is a common reason a new thumbnail will not save or appear. This guide explains why the limit exists, which file formats stay within it most easily, and how to compress thumbnails that exceed it.
Why YouTube Has a 2 MB Thumbnail Limit
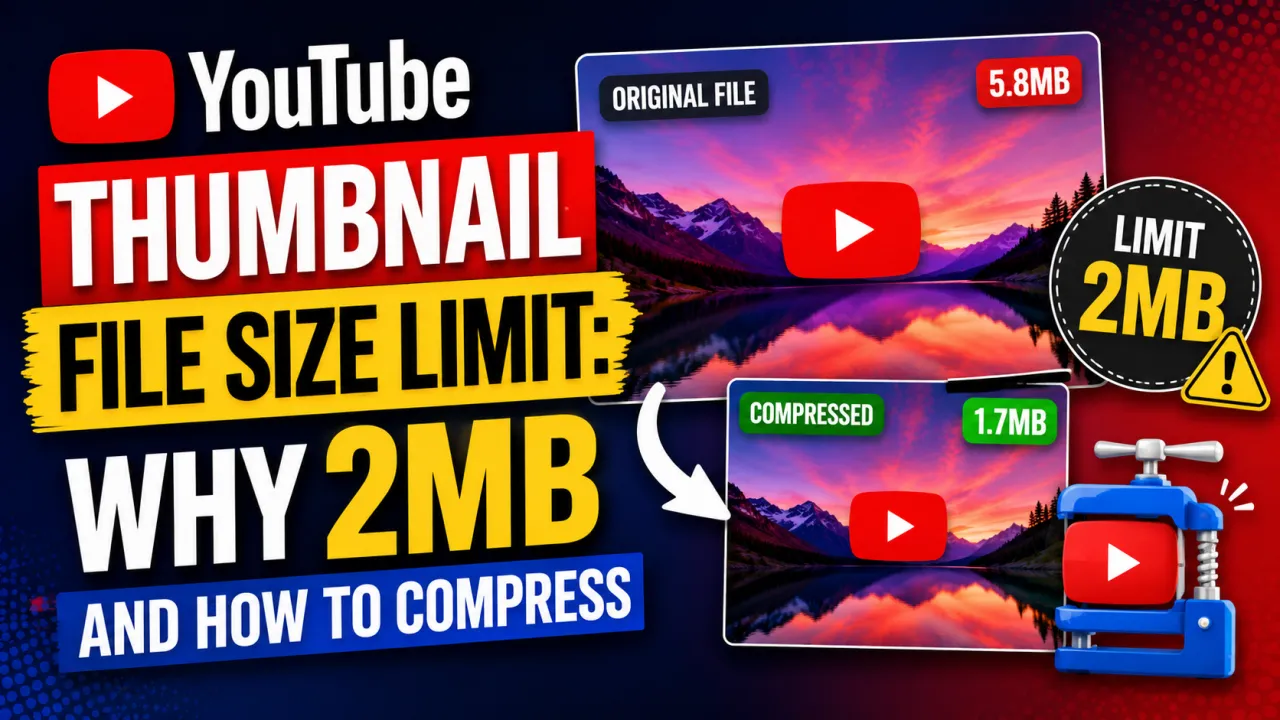
The 2 MB limit balances image quality against storage and processing efficiency. YouTube stores thumbnails at multiple resolutions on its CDN for every video a lower upload limit reduces both the storage requirements and the time needed to process the thumbnail during ingest. For a correctly sized 1280×720 JPEG at standard quality settings, 2 MB is generous a well-optimised thumbnail is typically between 100 KB and 600 KB at this resolution.
The 2 MB limit becomes a problem primarily when creators:
- Use PNG format instead of JPG (PNG is lossless and produces significantly larger files)
- Upload at resolutions well above 1280×720 (e.g., 3840×2160 or 4K source files)
- Export from design tools at maximum quality settings without compression
- Include layers of effects that produce large amounts of pixel data variation
Checking Your Thumbnail File Size
Windows: Right-click the file → Properties → check the Size field.
Mac: Select the file → press Command+I (Get Info) → check Size.
Canva: After downloading, the file size is shown in the download confirmation dialogue.
Photoshop: File → Export → Export As → the dialogue shows the estimated file size before saving.
Method 1: Export as JPG Instead of PNG
This is the first step if your thumbnail exceeds 2 MB. JPG uses lossy compression designed for photographic content a 1280×720 image with complex visual content saved as JPG at quality 85% typically produces a file between 100 and 500 KB. The same image saved as PNG can be 25 MB. Unless your thumbnail has large areas of flat colour or transparency that require PNG, export as JPG.
In Canva: Download → select JPG. In Photoshop: File → Export → Export As → select JPEG → adjust quality slider. In Figma: select the frame → Export → JPG.
Method 2: Resize to 1280×720 Before Exporting
If you designed at a higher resolution than 1280×720 (for example, 1920×1080 or 4K), resize the image to 1280×720 before exporting. Halving the linear dimensions reduces the file size by approximately 75%. YouTube's processing pipeline does not produce a better output from a higher-resolution upload the 1280×720 input is sufficient and keeps the file well within the 2 MB limit.
Method 3: Use an Online Compression Tool
Three reliable free tools:
- TinyPNG / TinyJPG (tinypng.com) drag and drop your image, download the compressed version. Consistently reduces JPG and PNG file sizes by 4080% with minimal visible quality loss.
- Squoosh (squoosh.app) browser-based tool with real-time visual comparison between original and compressed. Supports JPG, PNG, WebP, AVIF. Set format to MozJPEG and quality to 8085 for optimal results.
- ImageOptim (imageoptim.com Mac only) drag and drop compressor. Applies lossless and lossy optimisation; quality setting defaults are generally safe for thumbnail use.
Method 4: Reduce JPG Quality Setting on Export
In any design tool with a JPG quality slider, reducing quality from 100% to 85% cuts file size by 5070% with negligible visible difference on screen. Quality settings below 75% start to introduce visible artefacts around high-contrast edges (text on background, face against background). For YouTube thumbnails, 8090% is the practical range for balancing quality and file size.
Frequently Asked Questions
Not perceptibly when done correctly. YouTube re-compresses thumbnails during its ingest process regardless — so the quality viewers see is determined by YouTube’s processing, not solely by your upload quality. A well-compressed 200 KB JPEG upload produces a result indistinguishable from a 900 KB upload of the same source image after YouTube processes both.
YouTube accepts GIF and BMP formats, but animated GIFs are displayed as static images. BMP files produce very large file sizes and are practically never used. JPG is the correct format for almost all YouTube thumbnail use cases.
The limit is 2 MB (2,097,152 bytes). Files at exactly 2 MB may pass or fail depending on the exact byte count. To avoid edge cases, aim for a file size of 1.8 MB or below. At 1280×720 with JPG compression, staying well under 1 MB is achievable for virtually any thumbnail design.